A perfectly rounded sphere, with clean and uniform topology. I’m sure every artist who works with 3D models needs something like this at some point.
We all went down the route of subdividing a cube multiple times, but that doesn’t translate to a perfect sphere:
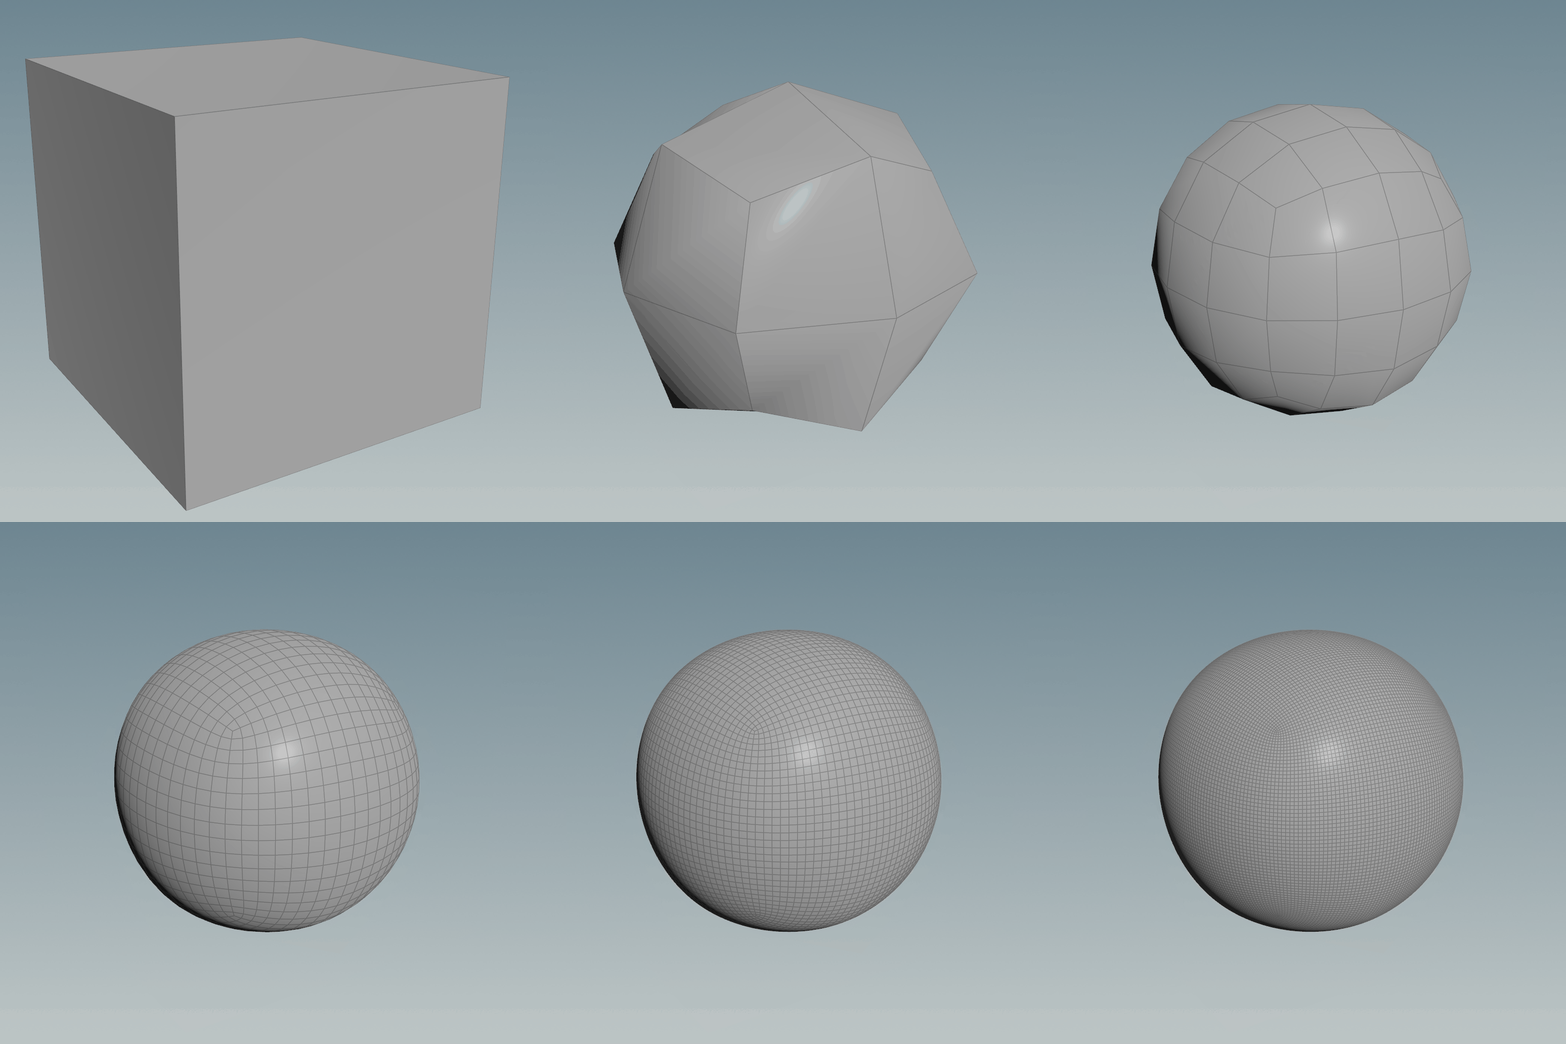
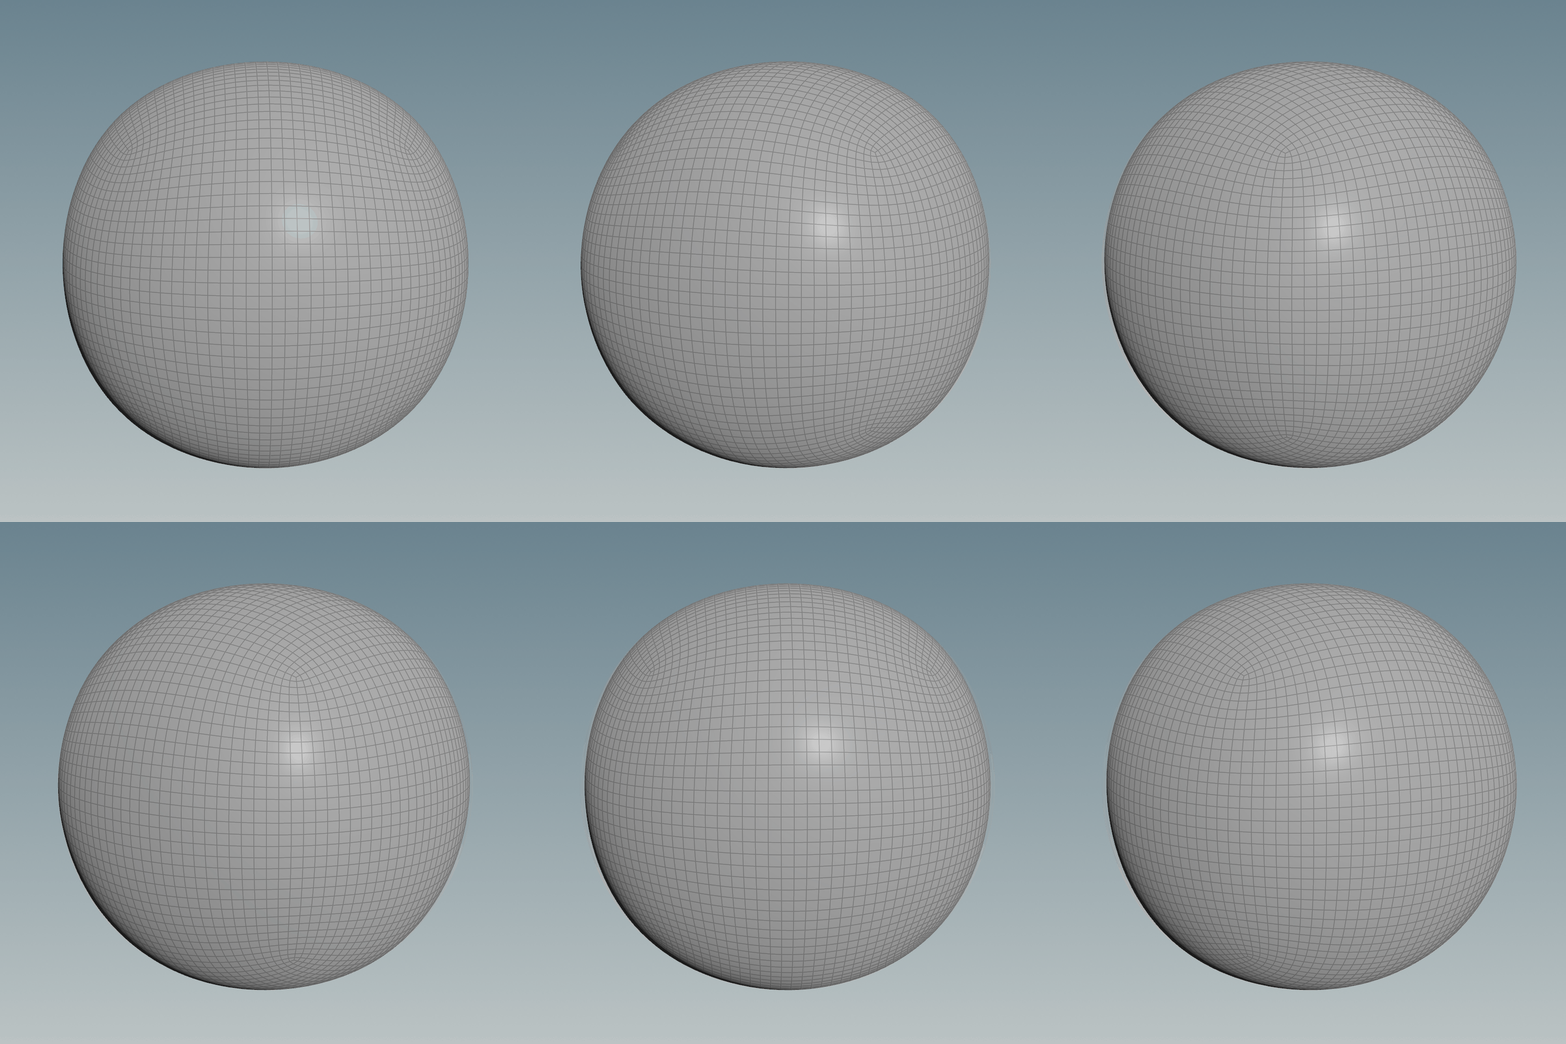
A good workaround would be to reproject the geometry of the subdivided cube to a normal sphere, triangulated, with pinches at the poles or just having it as a Primitive.
The gif below shows a comparison animation of before and after the projection:
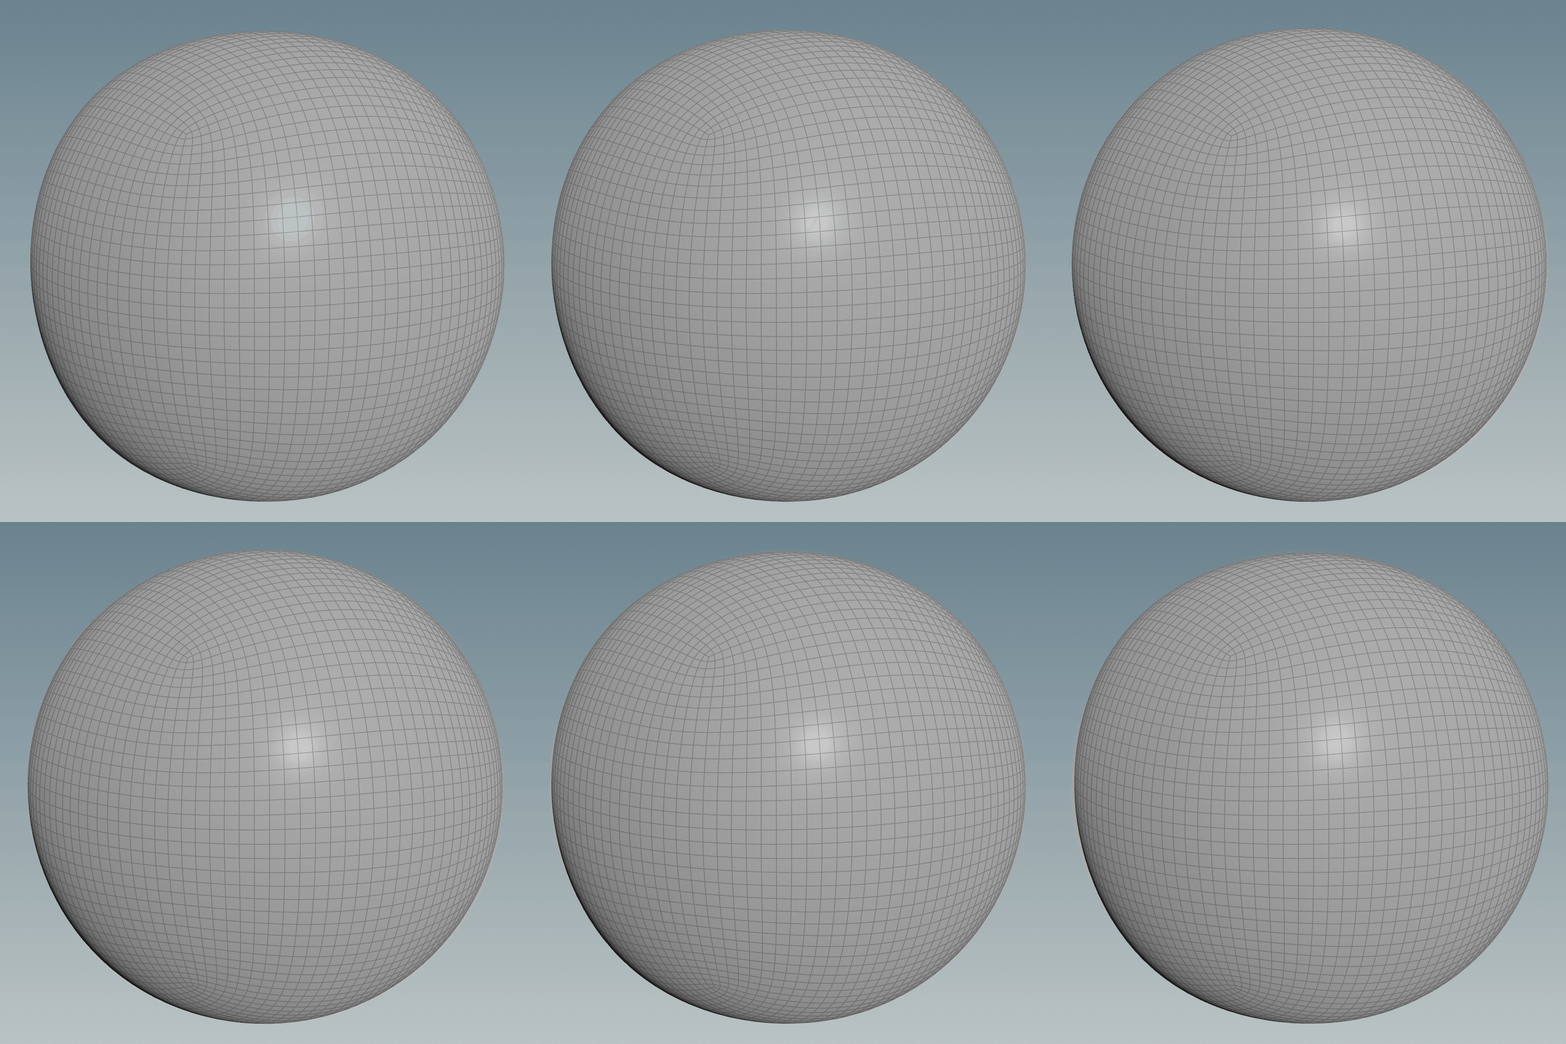
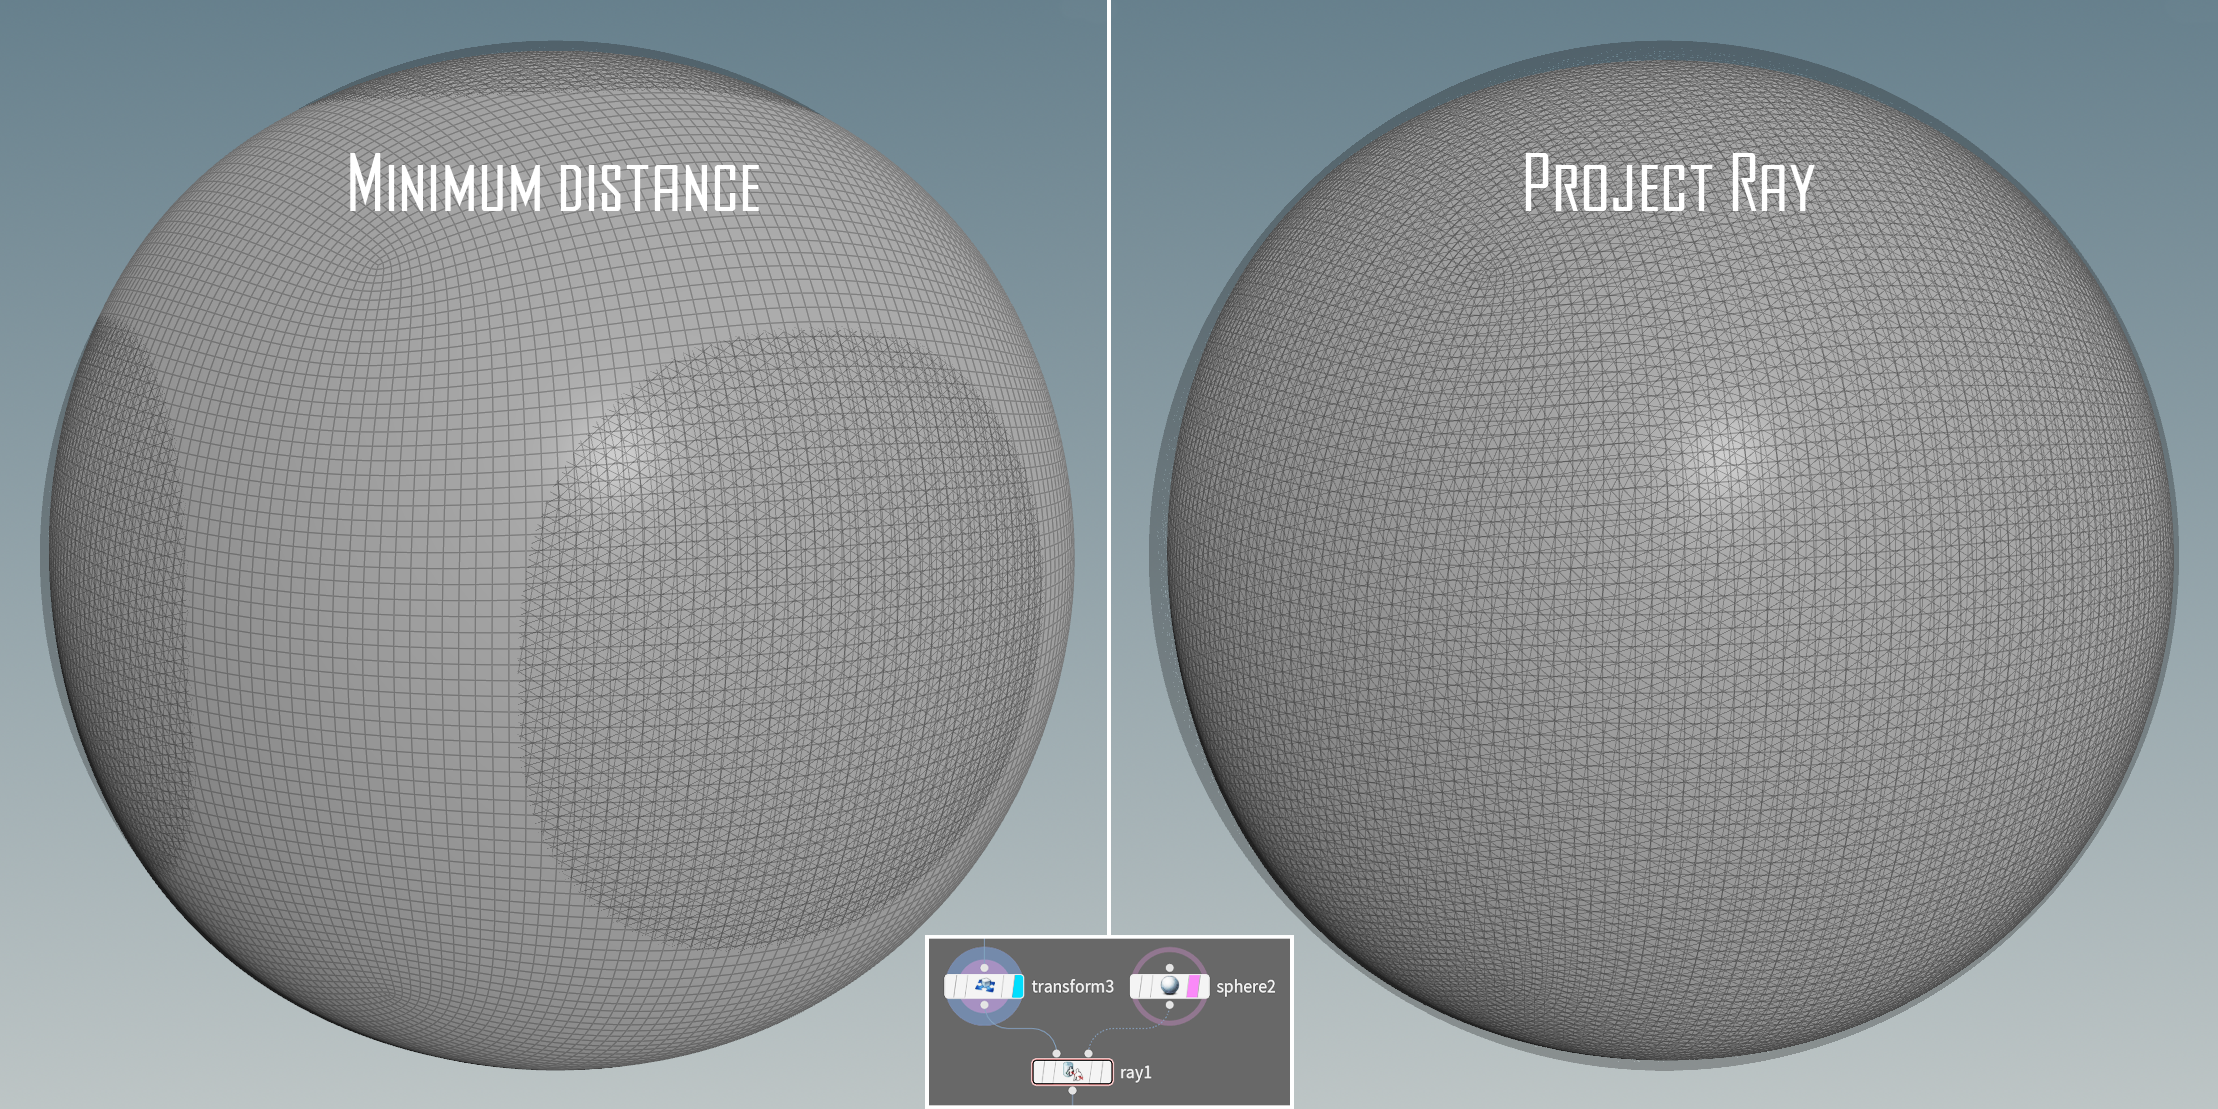
In Houdini it can be done using a Ray node, both the Project Ray and Minimum Distance options give similar results, you just need to make sure you scale the subdivided cube accordingly. For the minimum distance, you can get better results if the two surfaces match as close as possible, on the other hand, to make the ray option work the subdivided cube surface needs to be fully encapsulated by the sphere (or the other way around if you invert the rays’ direction), but they should still be of similar size for a better result.
Below you can see the sizes of the spheres for the two different setups:
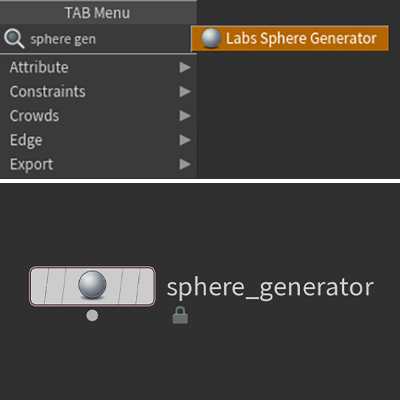
If you can’t be bothered to set it up yourself and have the Labs Tools installed, you can use the Labs Sphere Generator node, it uses this technique with Ray’s Method set to Project Rays and it also generates UVs.
This helps however, the sphere you get is not completely accurate since it’s dependent on the resolution and frequency of both the subdivided cube and the projection sphere used.
Here’s when we turn to our friend maths and ask if it can fix our problems.
It can help us out transform a cube into a perfect sphere. We can do it using a Normalize function, applying it to the vector position of each point will cause all the points to be the same distance from the center.
This happens because it divides the vector by its own length, here’s the code in VEX of three ways to achieve the same result:
@P = normalize(@P);@P /= length(@P);@P /= sqrt(@P.x * @P.x + @P.y * @P.y + @P.z * @P.z);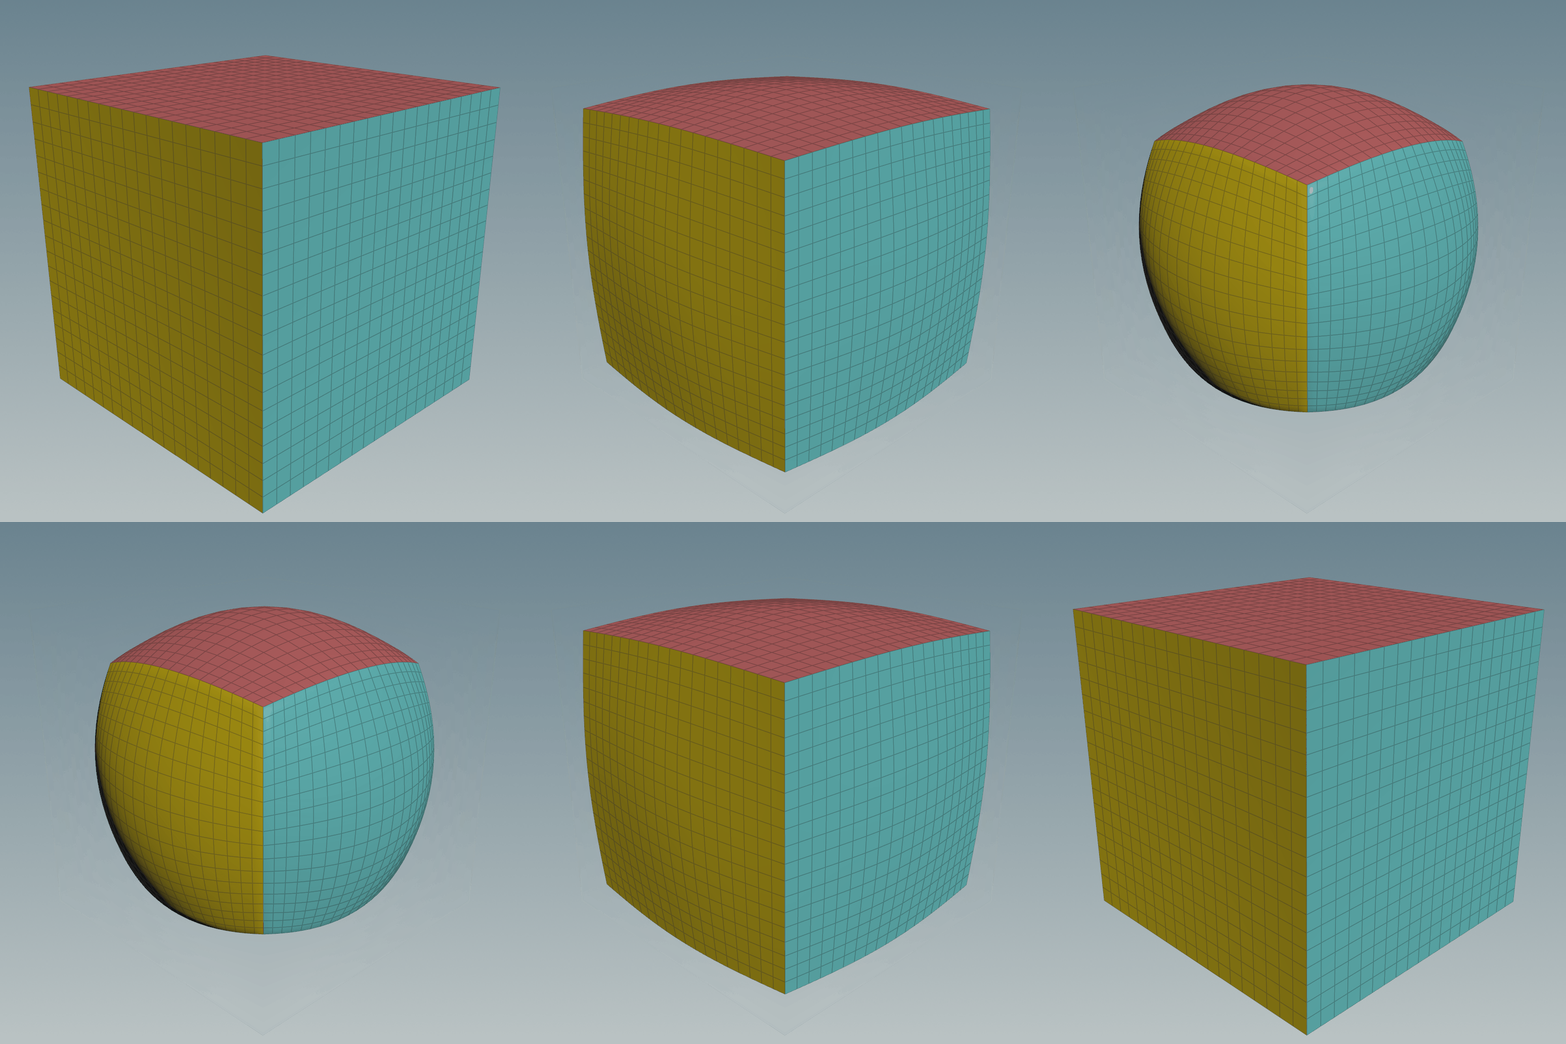
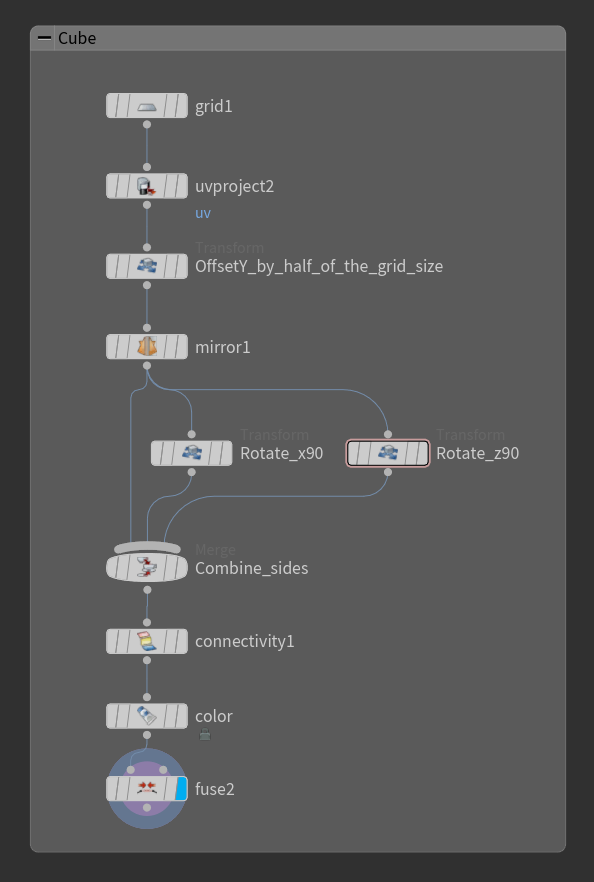
To increase the resolution of the cube you can simply use a Subdivide node with the Algorithm set to “OpenSubdiv Bilinear”, but I found you can have more control in creating the cube from a Plane (Grid node in Houdini), this way you can specify exactly the resolution with a number.
You can do it using some Transform and Mirror nodes, at this stage, you can also set up the UVs and assign a random colour to each face using the Connectivity node before fusing the points together.
However, the method shown above still bothers me because you can see that the vertices in the area of the original cube’s corners are a lot closer to each other compared to the ones at the centre of the cube’s faces.
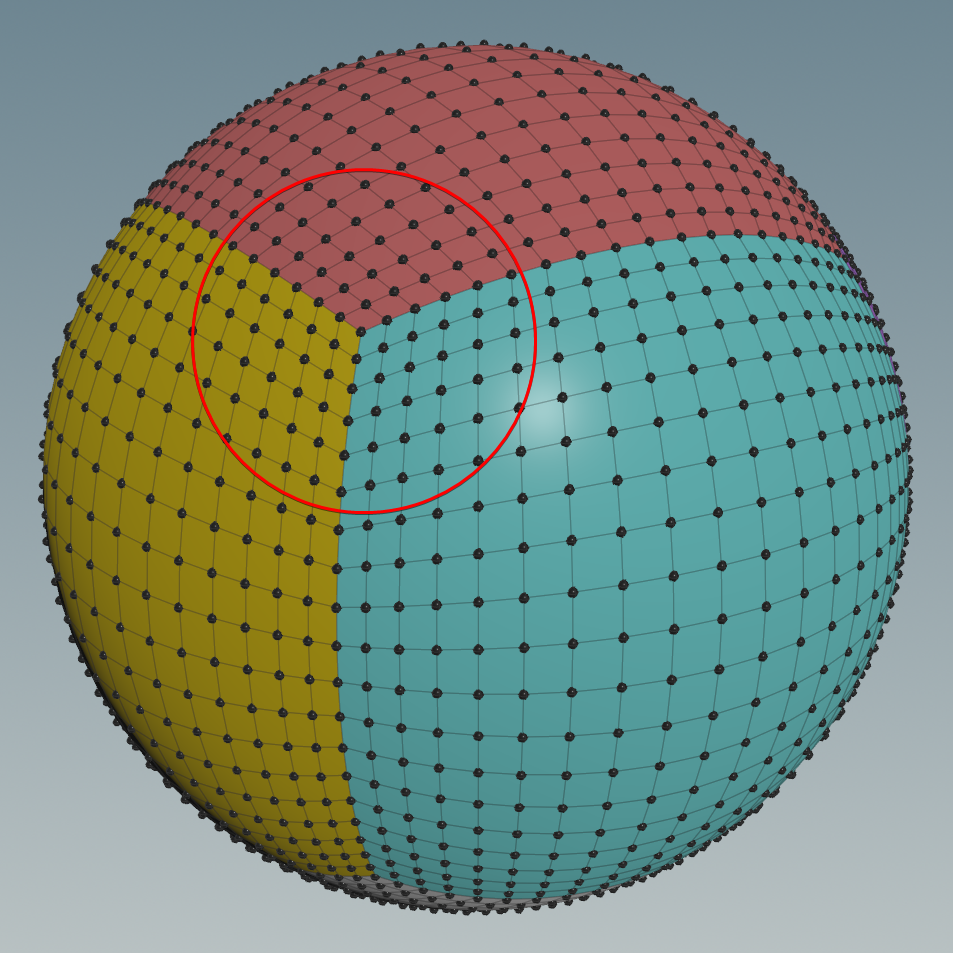
Luckily someone came up with a fancy equation that maps the cube to a sphere keeping the points spread out more evenly, almost as if you’re relaxing them.
The function is:
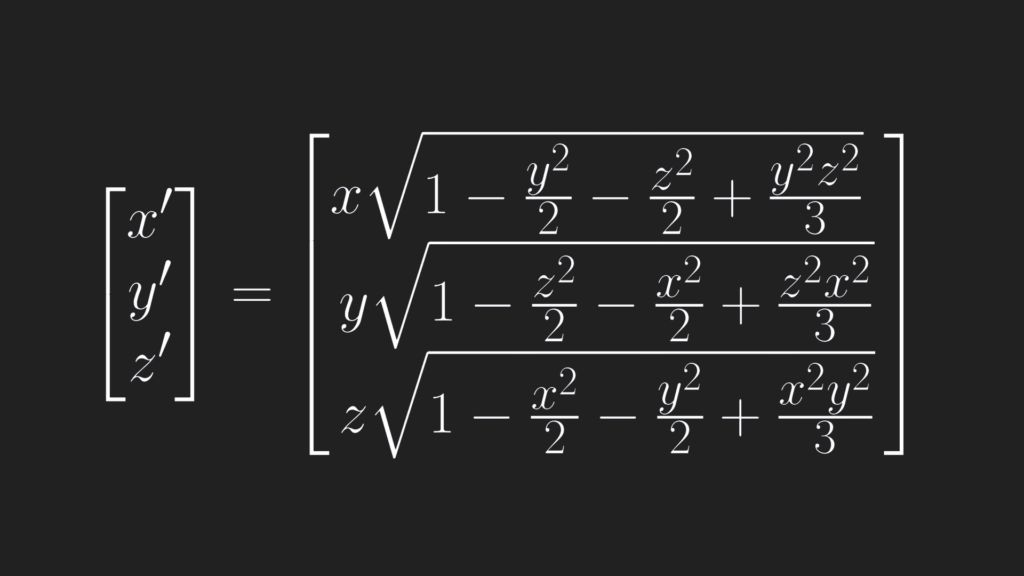
In VEX:
float x2 = @P.x * @P.x;
float y2 = @P.y * @P.y;
float z2 = @P.z * @P.z;

@P.x = @P.x * sqrt(1 - (y2 / 2) - (z2 / 2) + (y2 * z2) / 3);
@P.y = @P.y * sqrt(1 - (z2 / 2) - (x2 / 2) + (z2 * x2) / 3);
@P.z = @P.z * sqrt(1 - (x2 / 2) - (y2 / 2) + (x2 * y2) / 3);
The gif below shows an animated comparison of the points using the two methods:
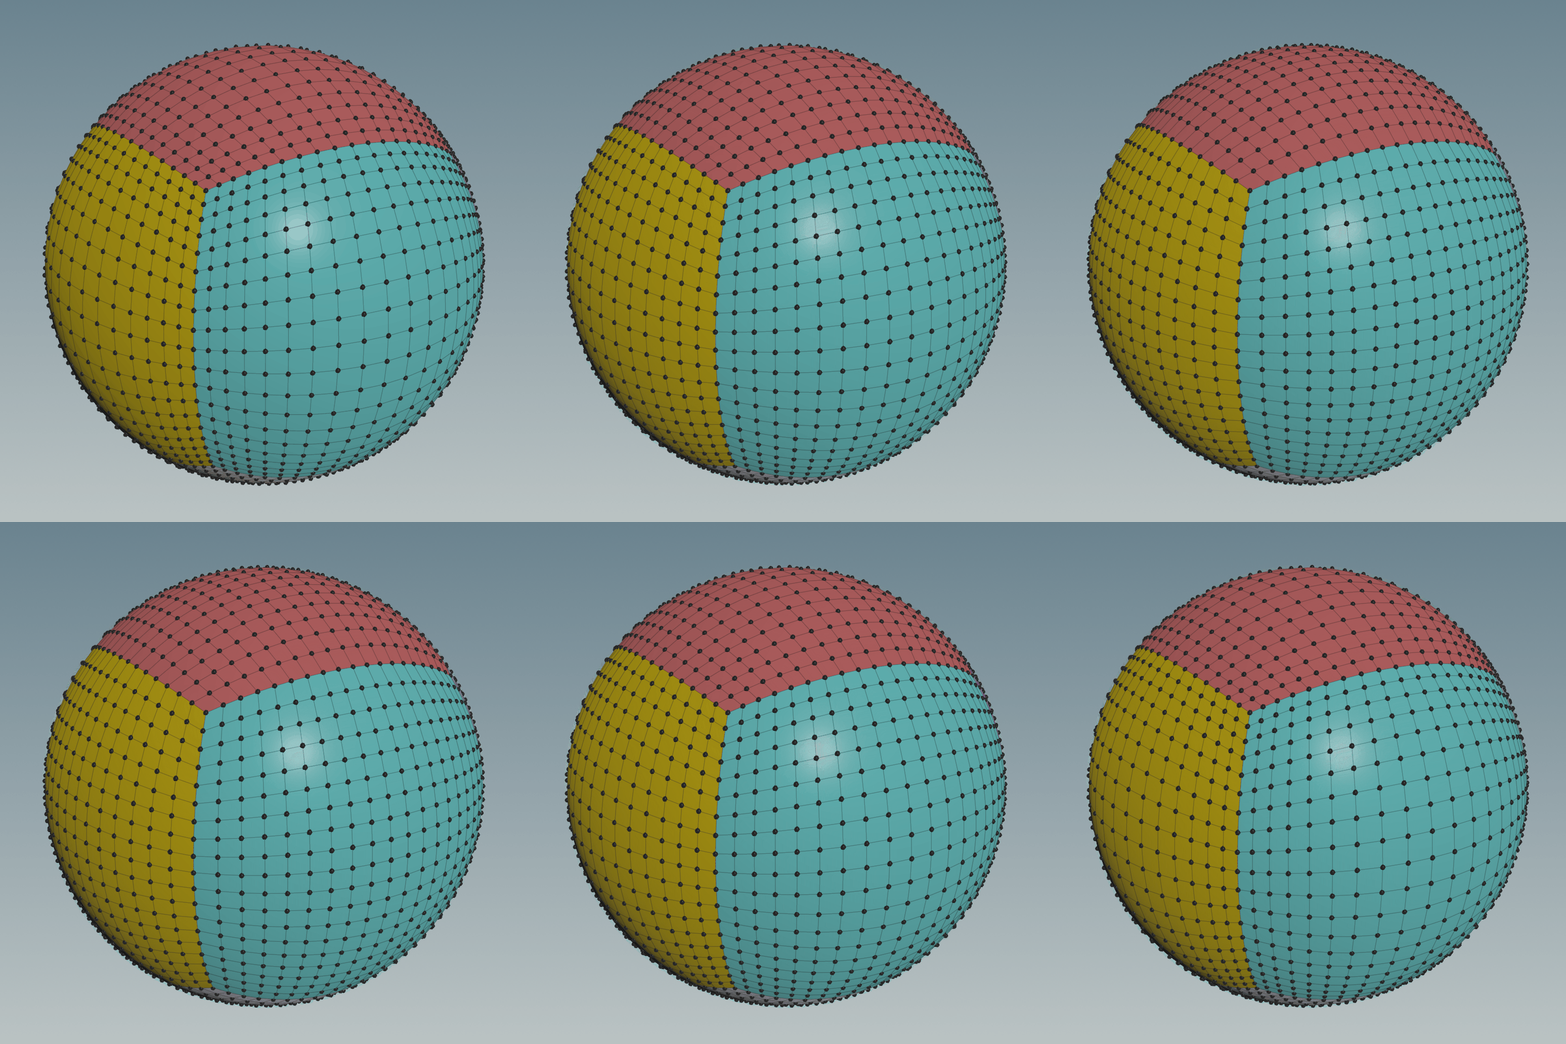
I find this animation very satisfying to look at, I can finally sleep again at night.
I hope you found this post useful, have a great rest of the day!!

Leave a Reply