Introduction
I recently started experimenting with vector fields and I thought this might be useful for anyone that wants to do the same.
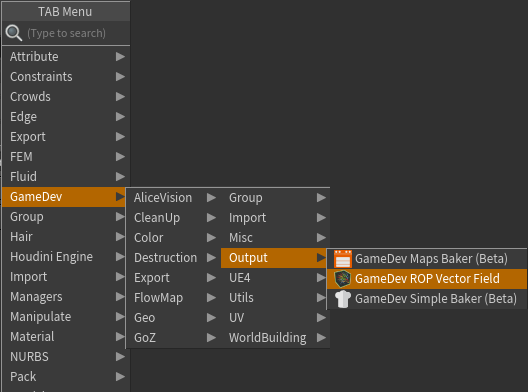
I’ll show you a couple of ways to generate them in Houdini, both ways make use of the GameDev ROP Vector Field node, so make sure you have the Game Development Toolset!
This node allows you to export a .fga file which is supported by Unreal Engine.
Vector Field from Points
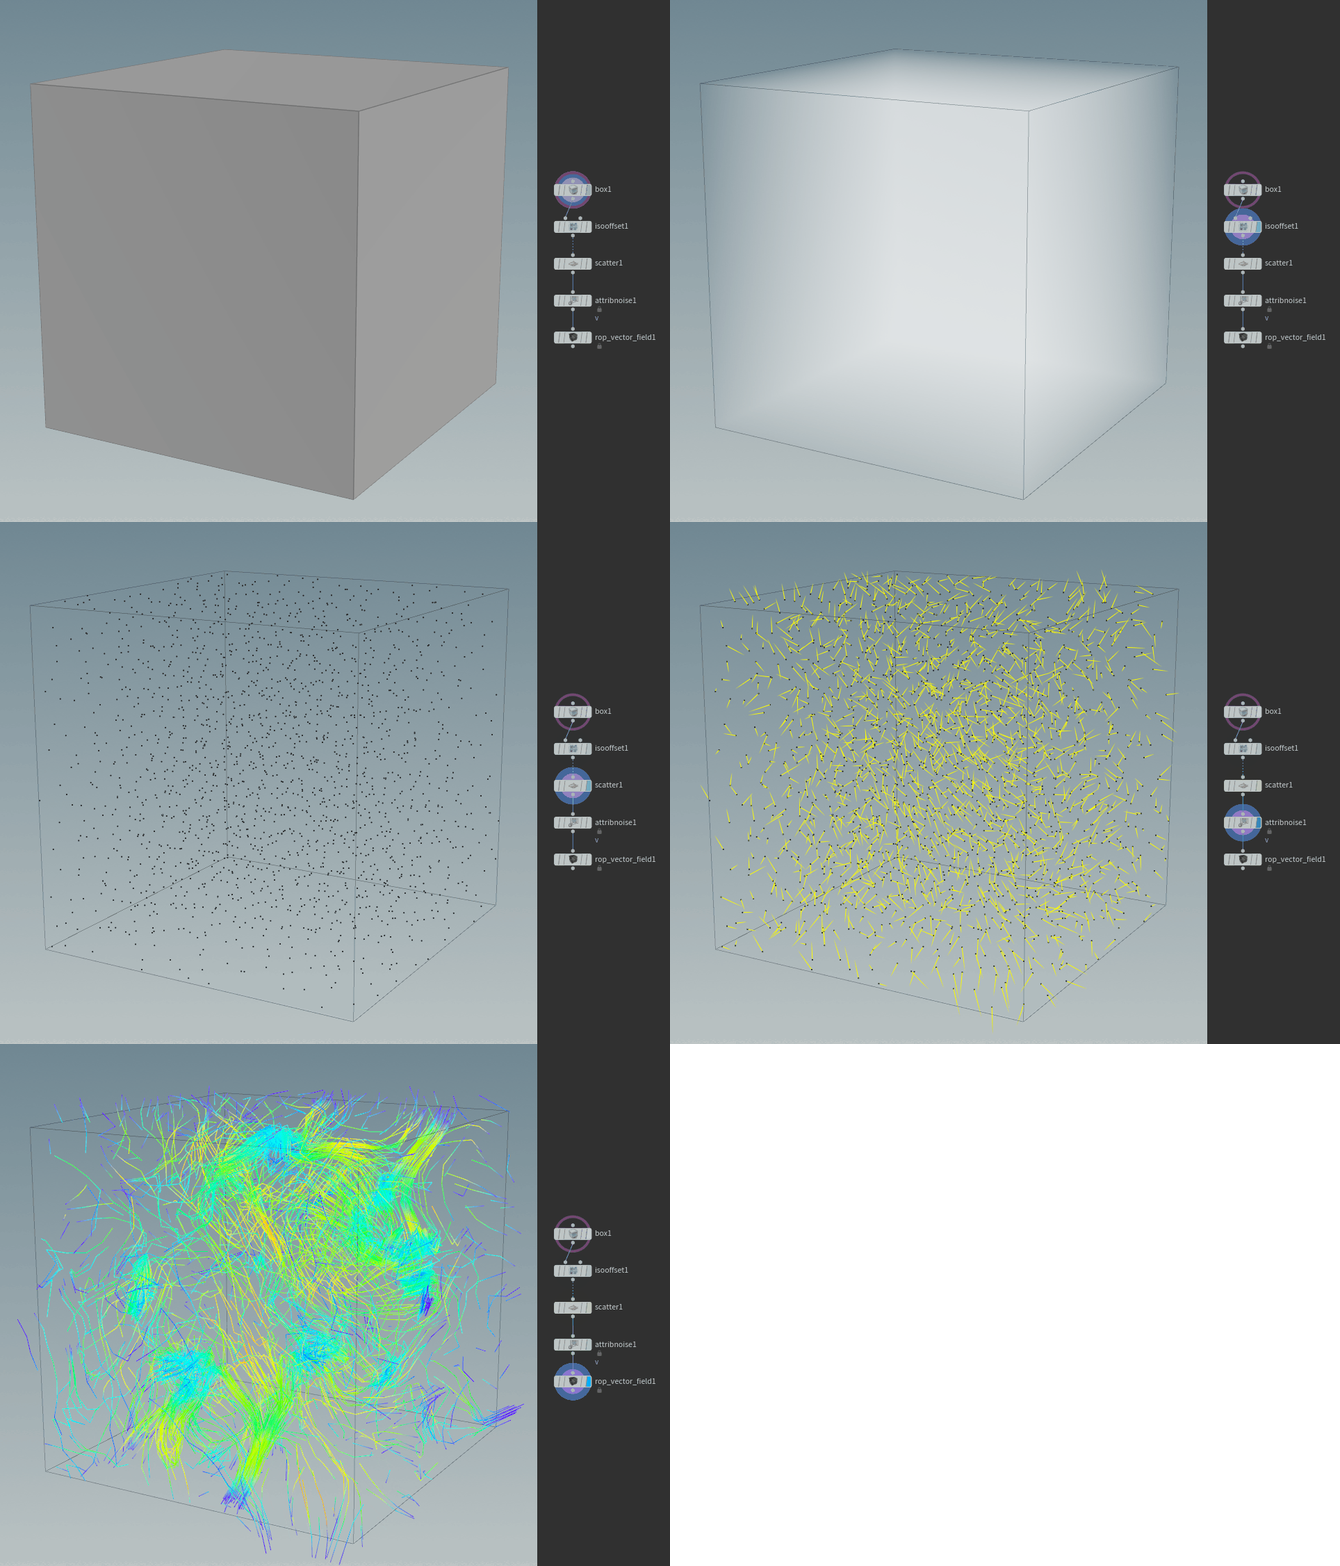
To generate a Vector Field using points any type of geometry can be used, I’m using a box to keep things simple.
Then the geometry needs to be converted to a volume so that you can scatter points inside it, this can be achieved using either a Volume node or an IsoOffset one.
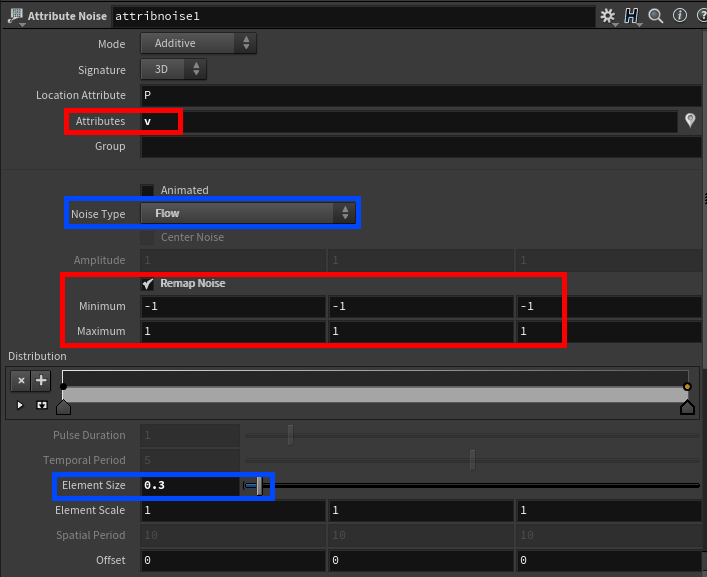
After that, you can apply noise to the points using an Attribute Noise node, remember the attribute name you are using since it’s important for the next step, also make sure you remap the values between -1 and 1 if you want the noise to have a uniform look.
Feel free to play around with the Noise Type and the Element Size parameters.
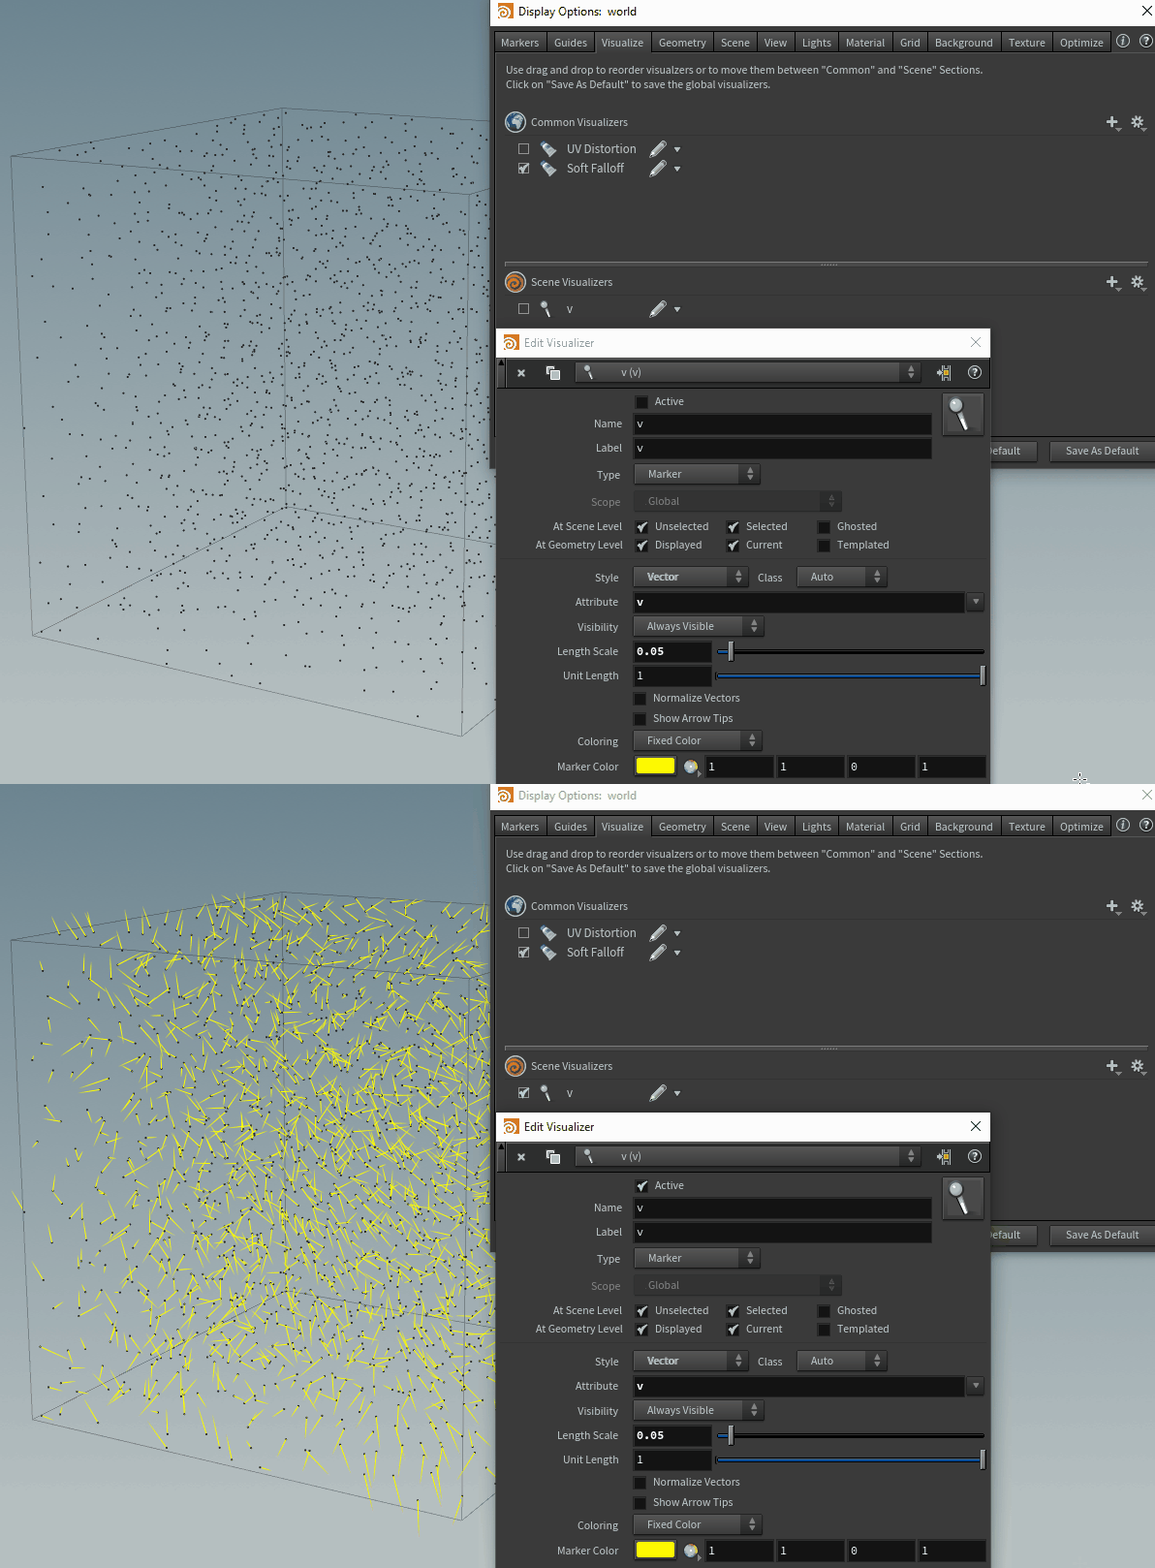
You can visualize an attribute if you add it to the Scene Visualizer, in the Display Options’ Visualize tab.
You can open the Display Options just pressing the “d” key while your mouse is hovering the scene view; color, size and style can be adjusted.
Now the only thing left is to generate the vector field using the GameDev node, change the input type to “Particles” and insert the attribute name you are using on the points for the “Velocity Attribute”.

You can also change the resolution of the generated vector field with the “Sampling Divs” parameter. However, remember that if you increase it you might have to also increase the number of points initially scattered. it’s probably not essential since we’re just dealing with some simple noise here, but if you are generating more advanced vector fields you’ll need more points to achieve a more accurate result.
As mentioned before, you can play around with the size and type of noise to achieve different effects. Once you’re happy with it you just need to hit the Render button to export the fga file.
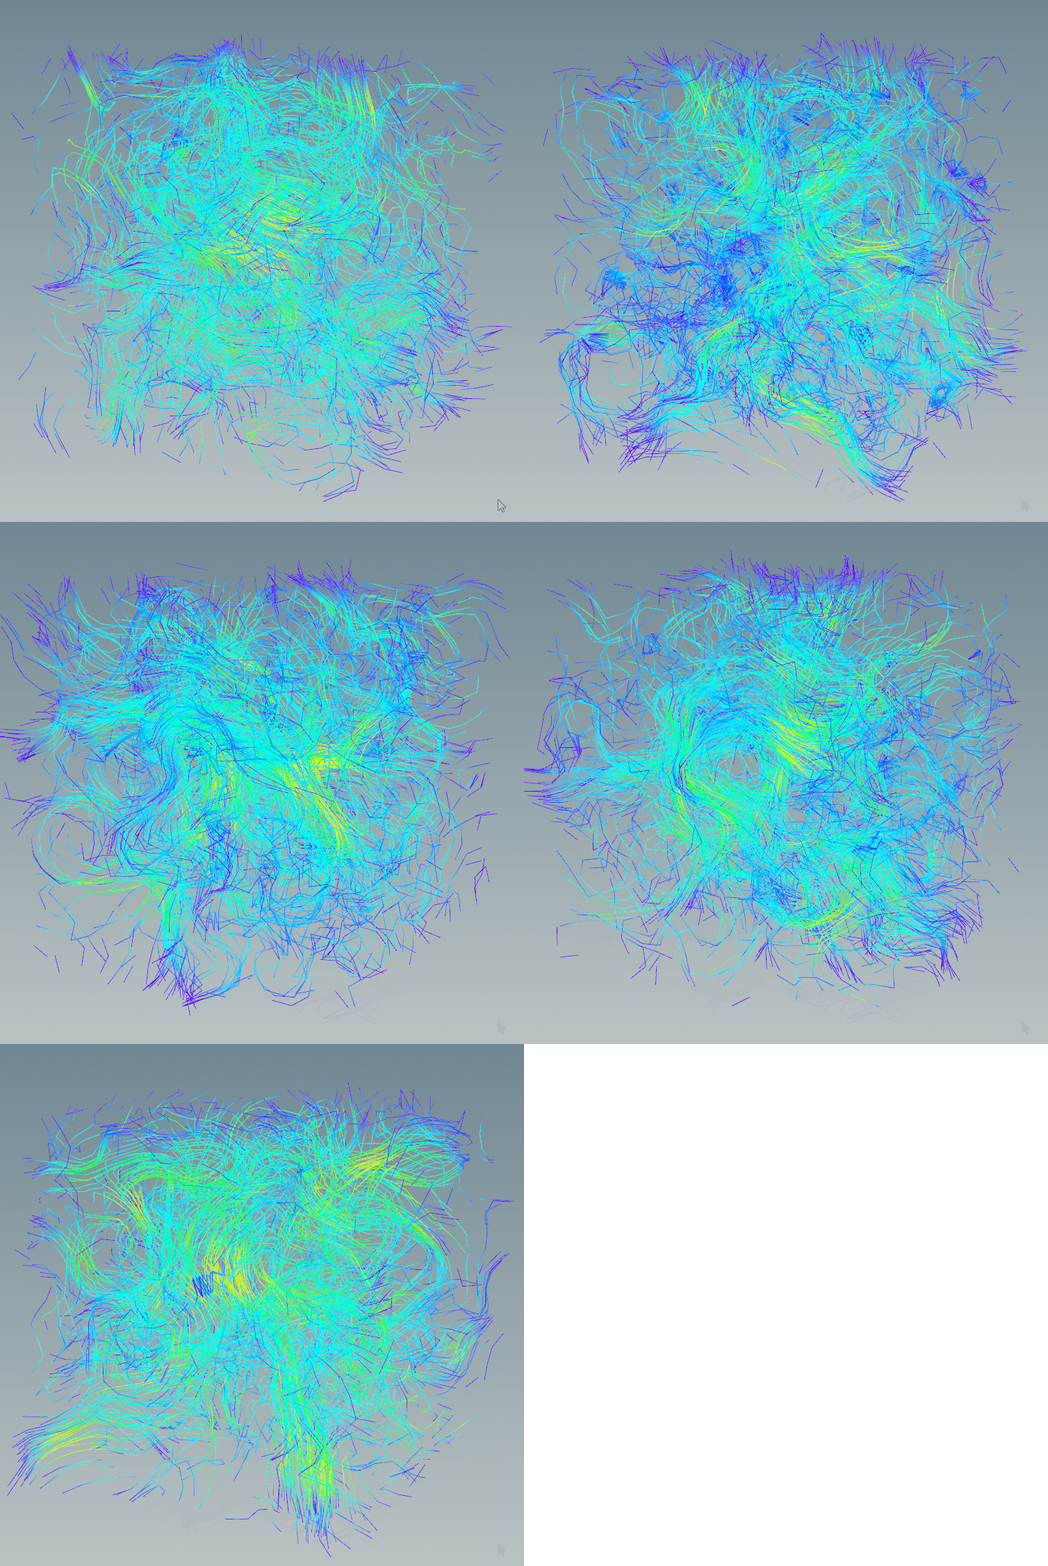
Vector Field from a Volume
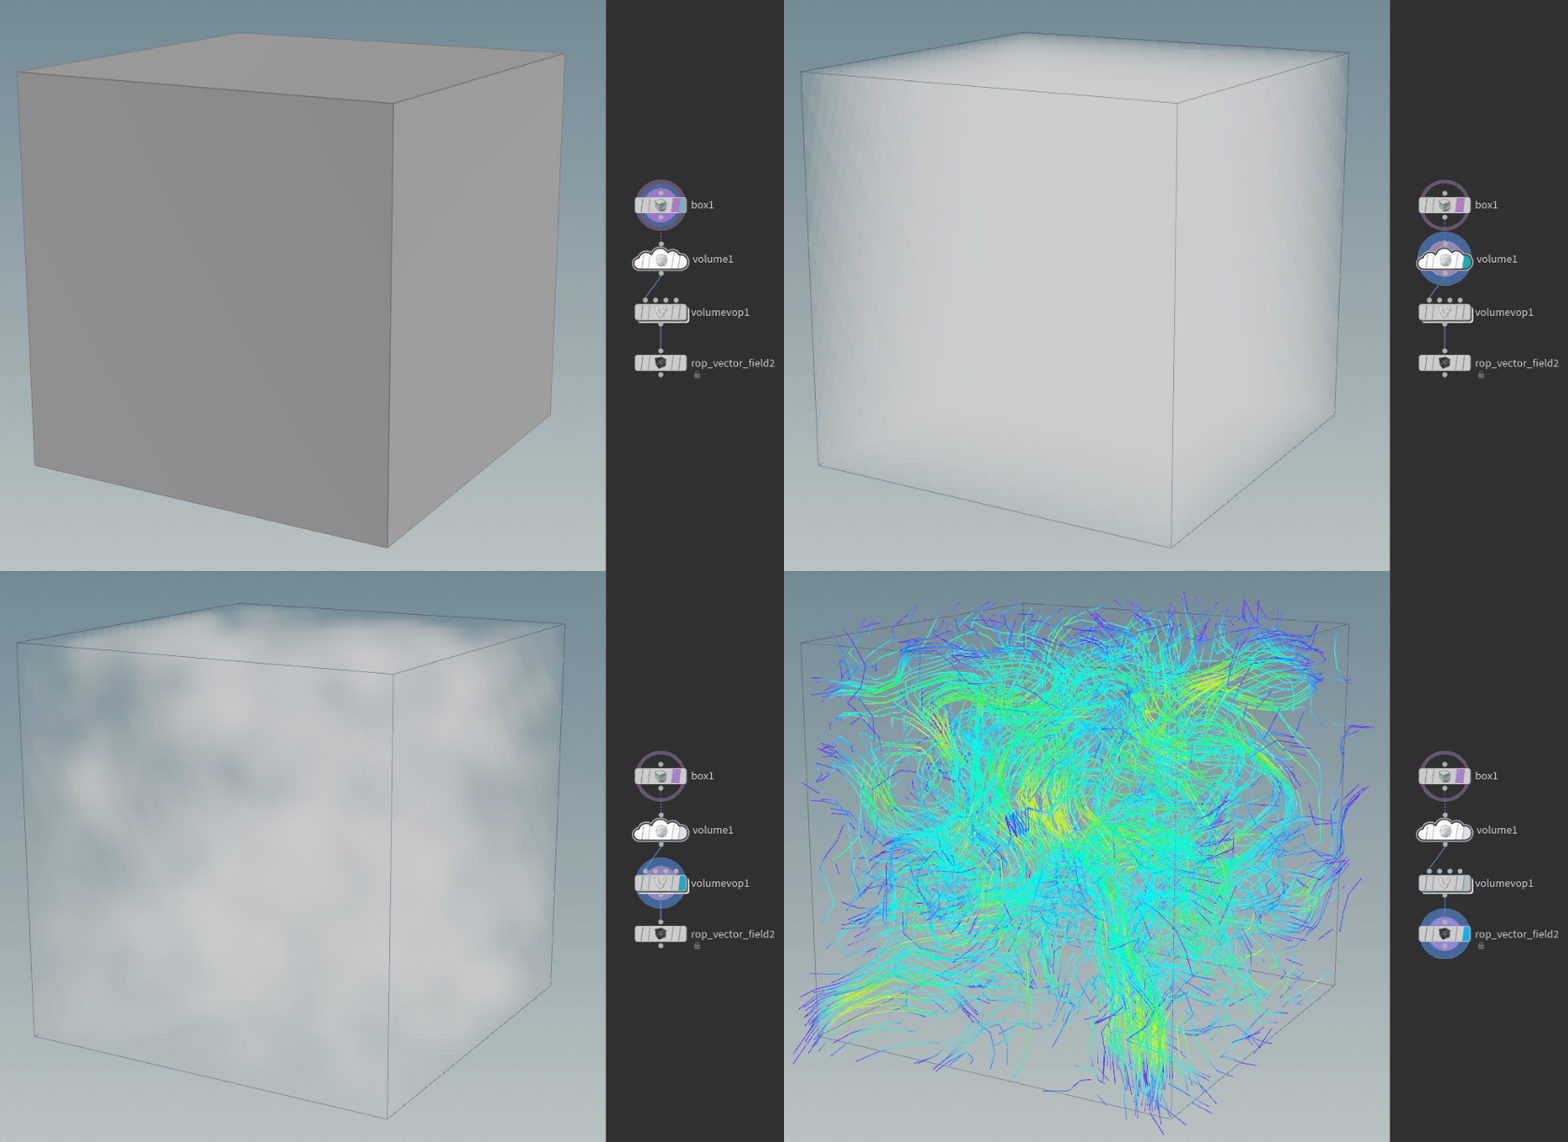
To generate a Vector Field using a volume you first need to make a volume (what a surprise).
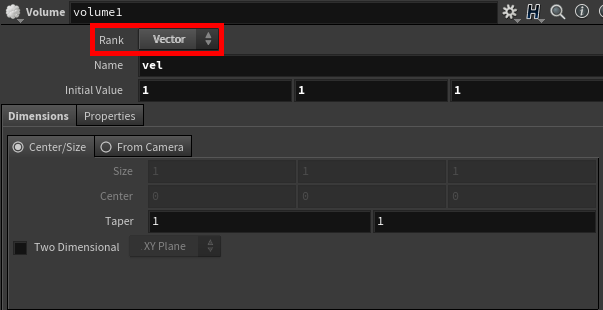
Make sure you change the “Rank” parameter from “Scalar” to “Vector”, I’m also changing the initial values to 1 so that I can visualize the volume in the Scene View, but that’s not essential.
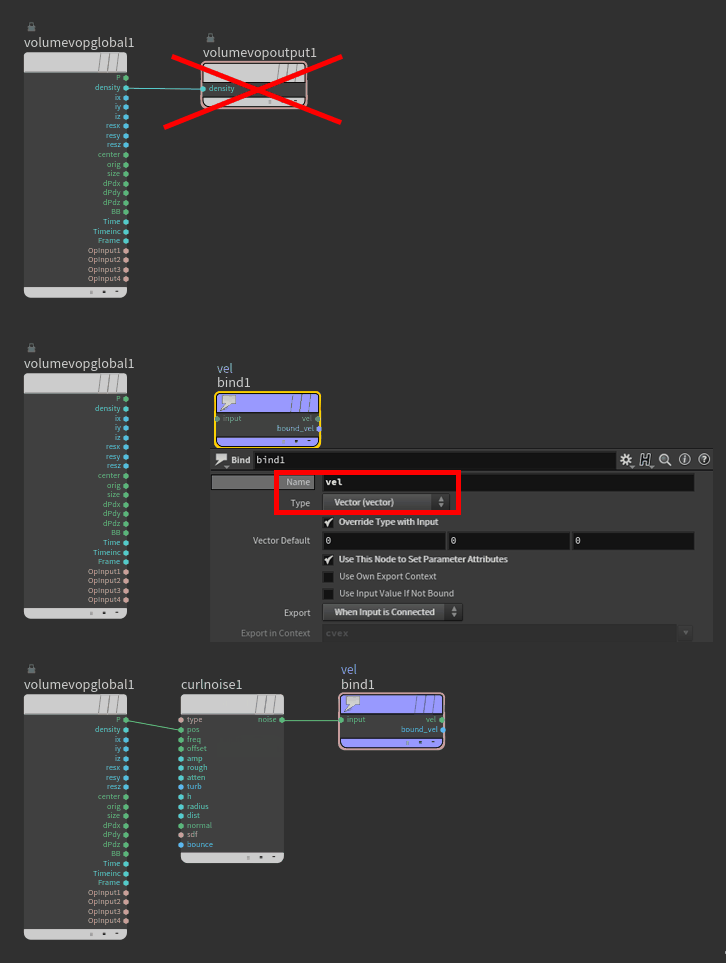
To add noise we can use a Volume VOP. Open it and replace the output node with a Bind Export one, make sure you set the “Type” parameter to “Vector” and remember the name you are using, then you can connect the position to a curl noise node.
Now just add the Game Dev Vector Field node, insert the right name in the Velocity Volumes node and you are done.
Here you can also override the resolution of the field, however if you need to increase the resolution I would change the “Uniform Sampling Divs” parameter of the actual volume to get the best result.
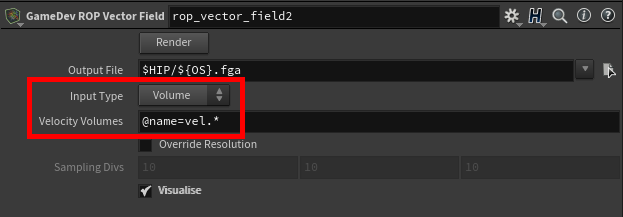
Like before, feel free to play around with the noise type and frequency, when you are done just press the Render Button to export the fga file.
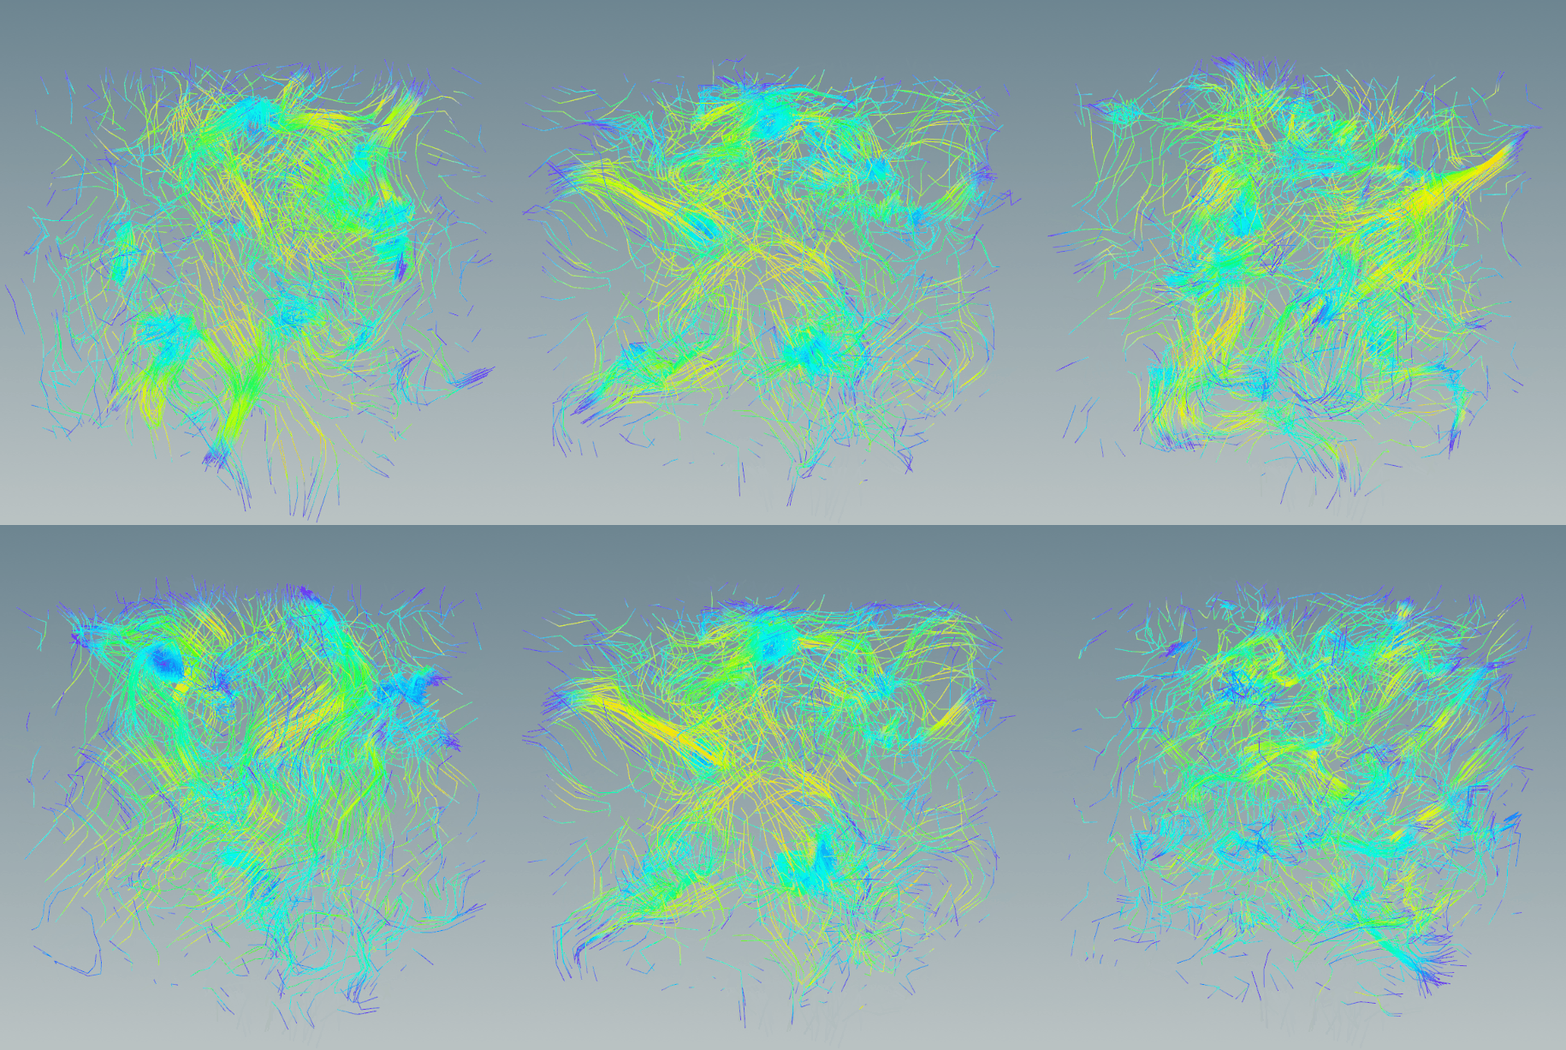
I did some tests and both ways for generating a vector field are valid, the results are similar so they are equally good, you can pick your favourite!
Bonus – Volume From Attribute
There is a 3rd way to simply generate a Vector Field, which kinda combines both the techniques described above. However, instead of using the Volume VOP you can use the Volume From Attribute node.
Here’s the graph:

I hope this was somehow useful, feel free to share feedback and thoughts!

Leave a Reply